Leenik (Rodian with an eyepatch)

On my origami tour of the Campaign podcast, the next stop is Leenik, the Rodian who wears an eyepatch and wigs. If the Rodian of your choice in the Star Wars universe doesn’t happen to wear an eyepatch or sport a wig, just mirror the instructions for the left eye on the right, and tuck away the flap at the end that gets used for the Clark Kent curl.

Leenik

Diagrams:

Leenik Diagrams Page 1

Leenik Diagrams Page 2

Origami Diagramming 101

I recently decided that it was about time I start learning how to “properly” diagram the models I present here. After a bit of searching, I ended up coming across several great resources.

Robert Lang’s Origami Diagramming Conventions. Robert Lang is a prolific designer, and is in fact one of my favorite creators in the space. He’s one of a handful of designers I can name off the top of my head, and has written some very insightful, thorough pieces on the art, and the science, of origami. The conventions presented in the article are, as you’d expect, some of the best around, and clearly detail best practices and the reasons behind them.

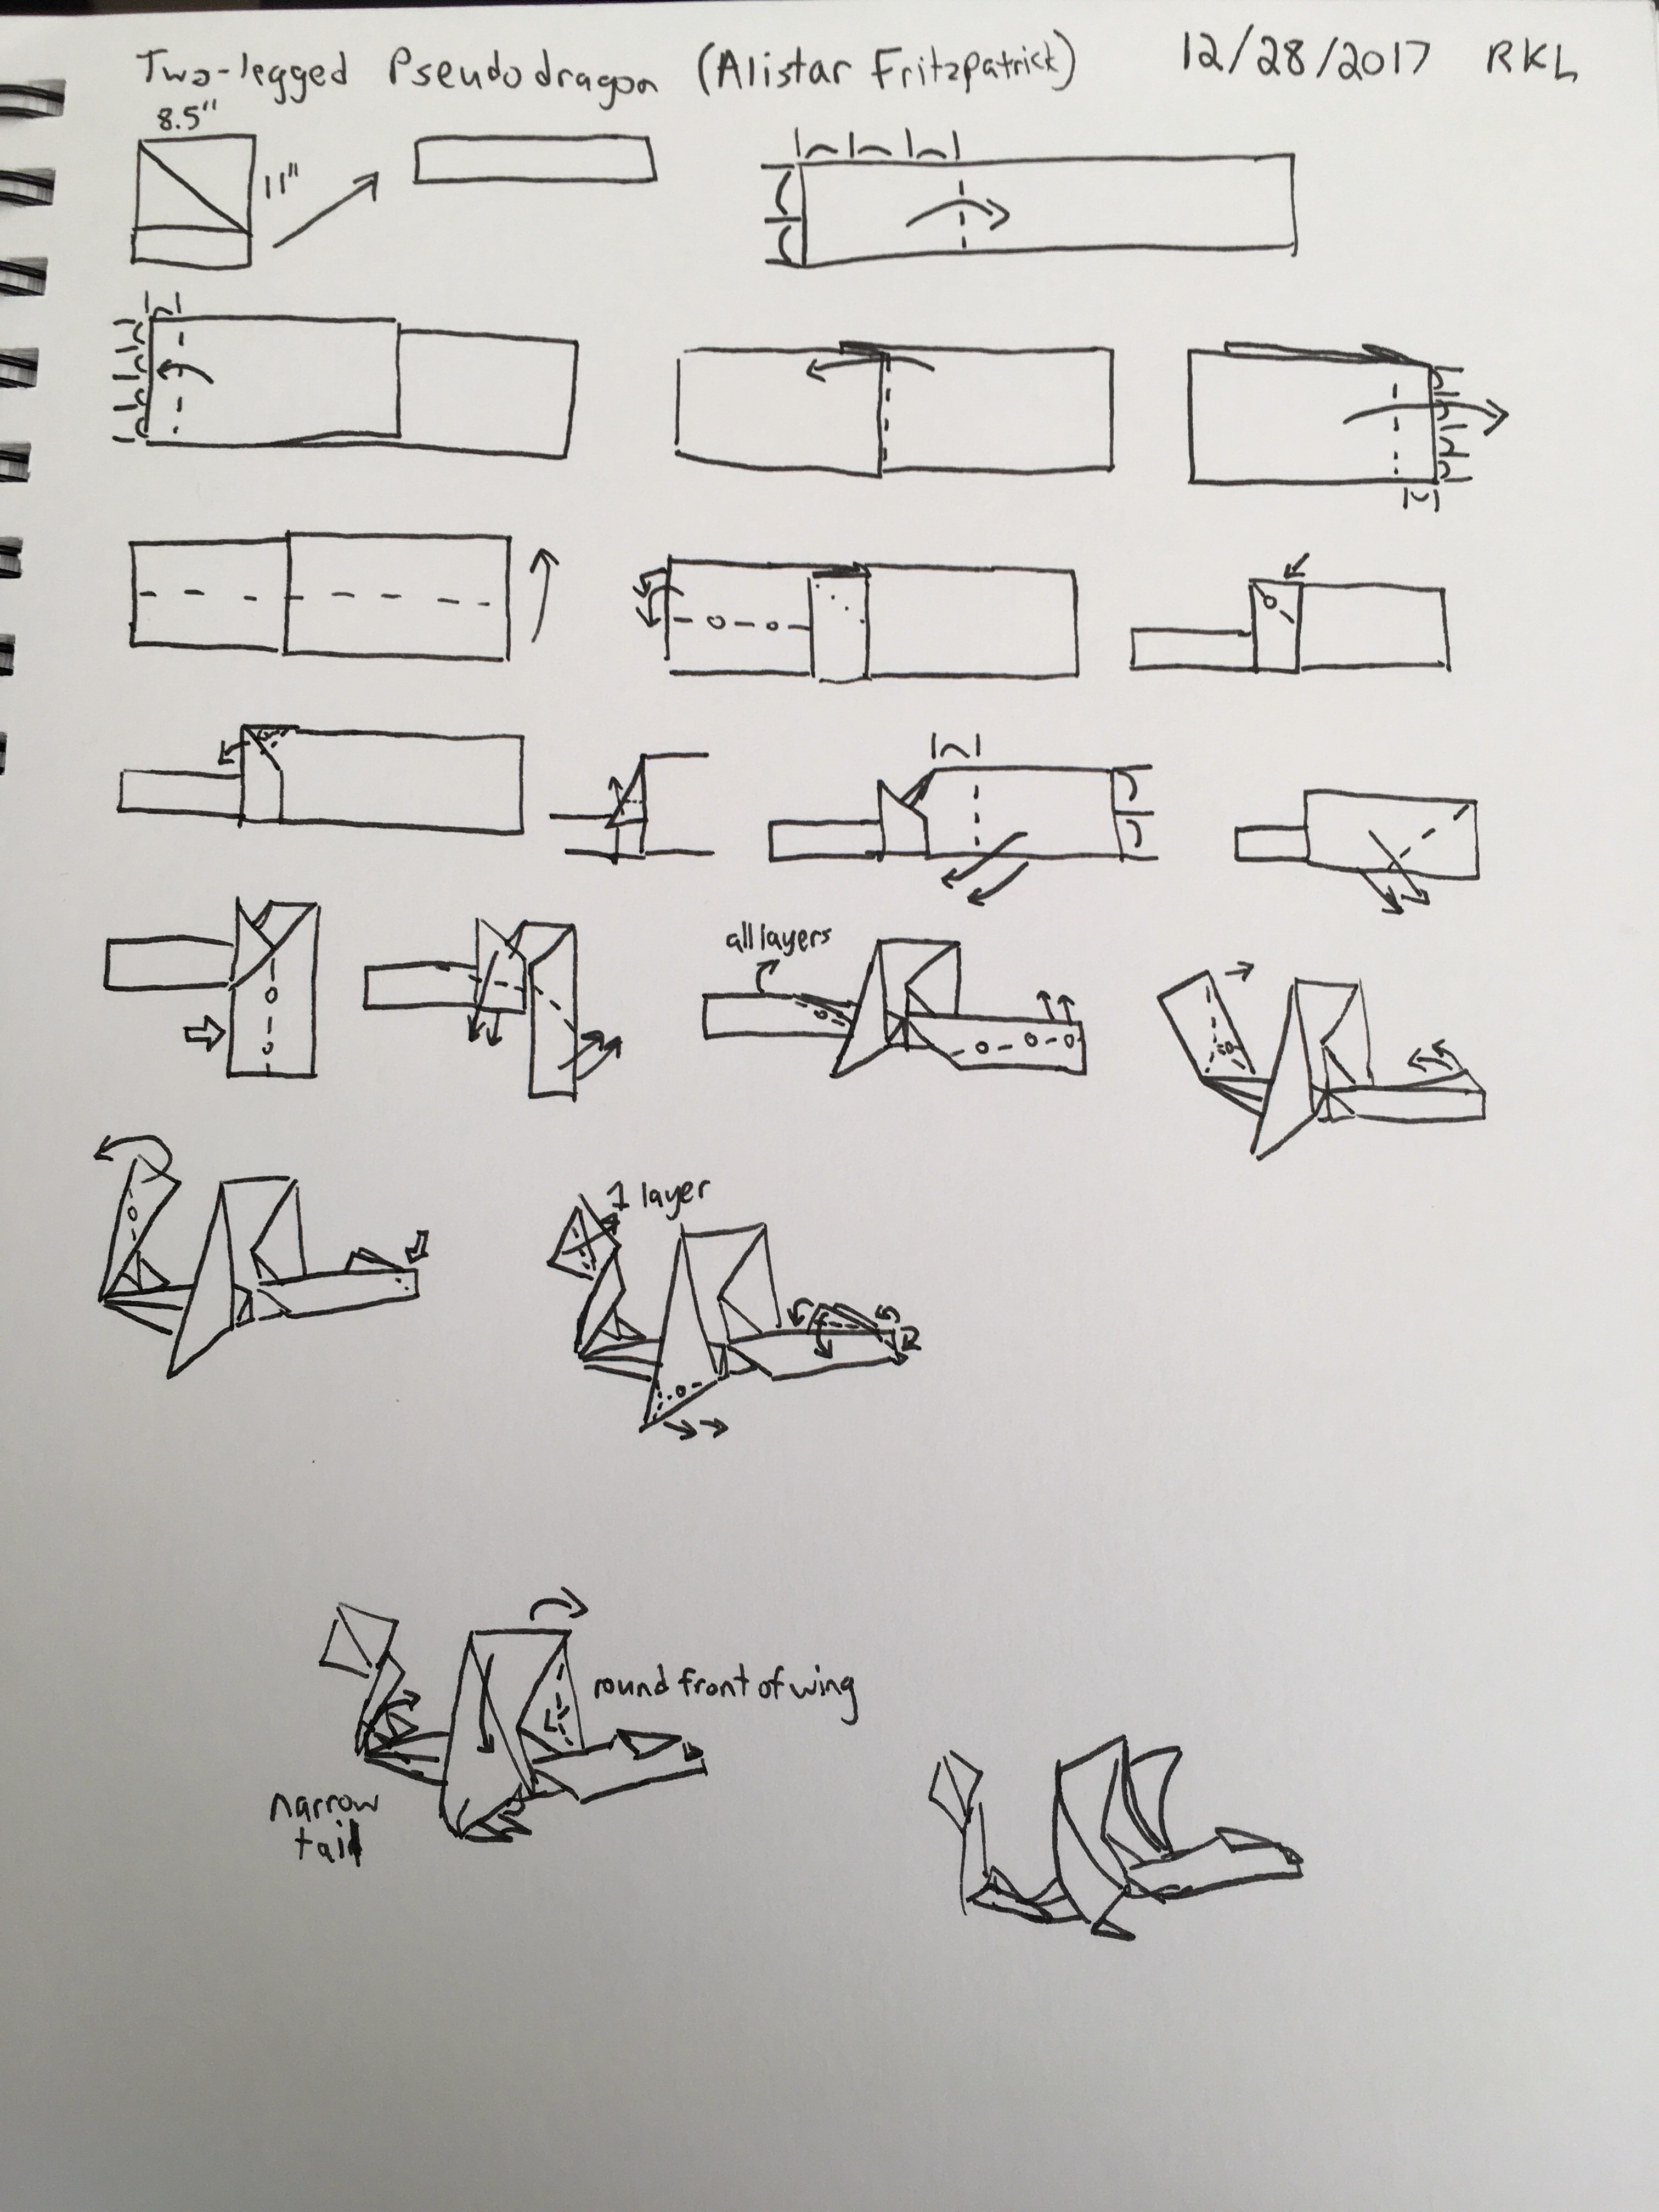
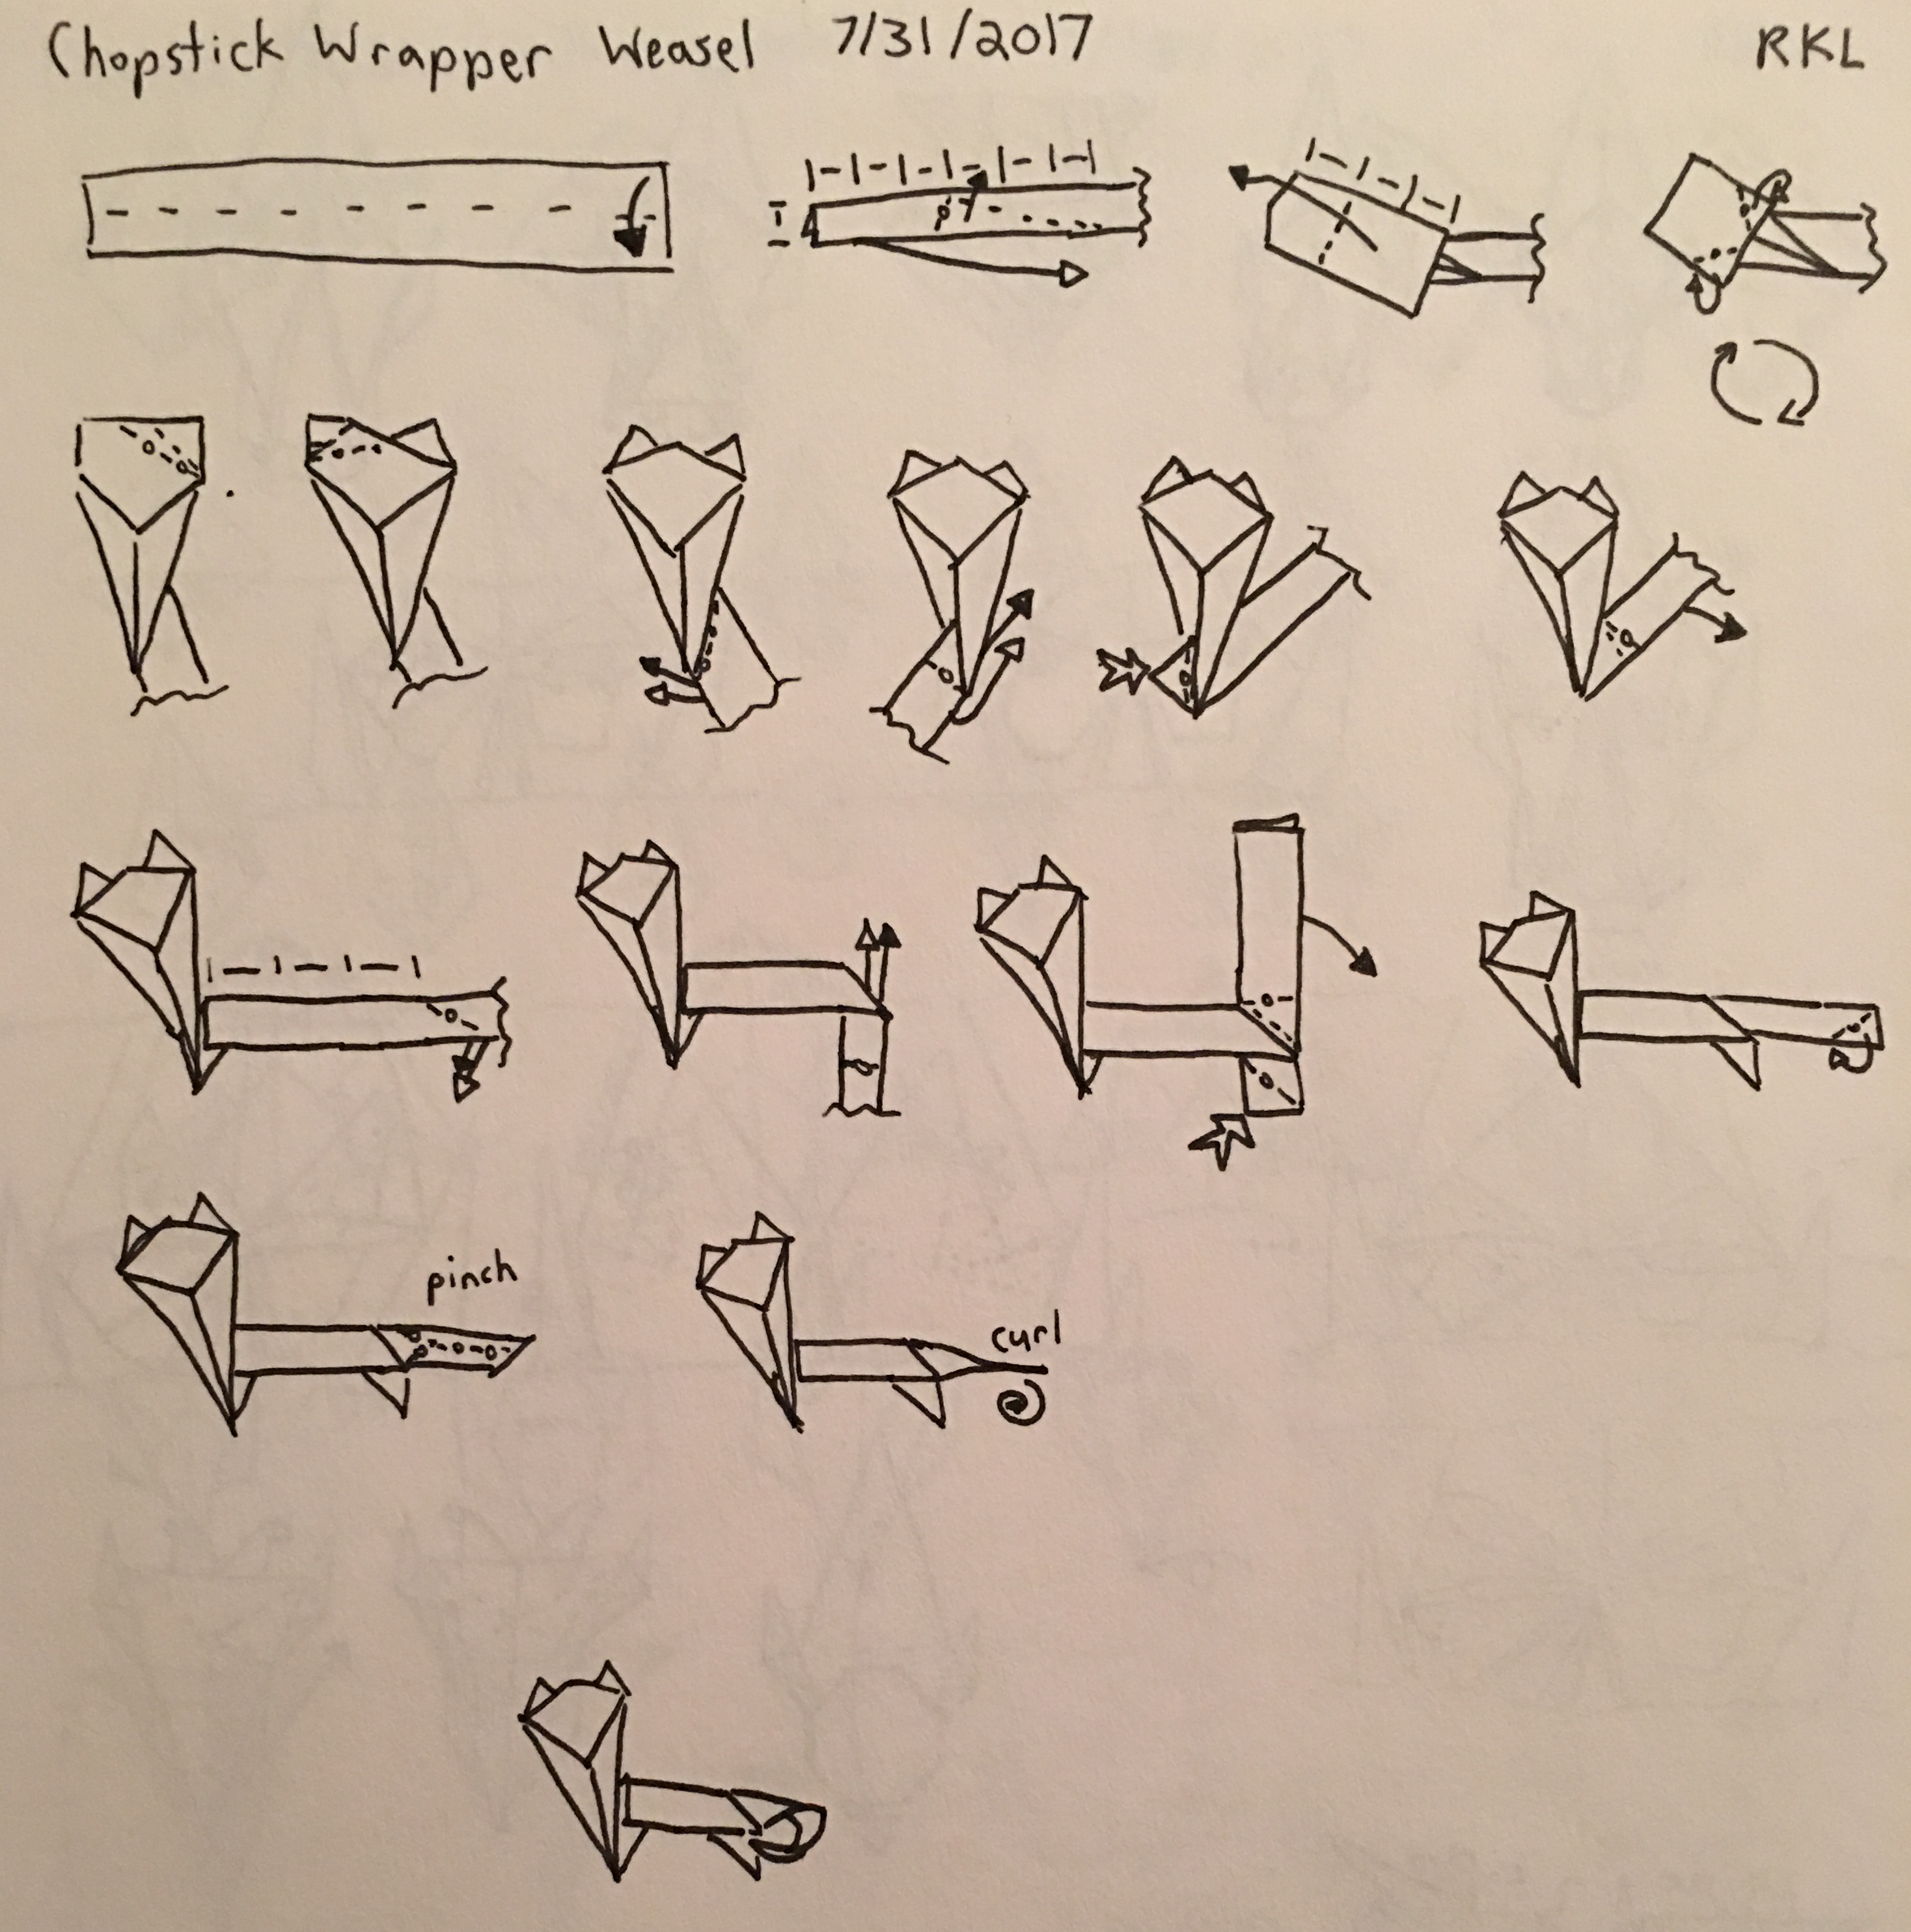
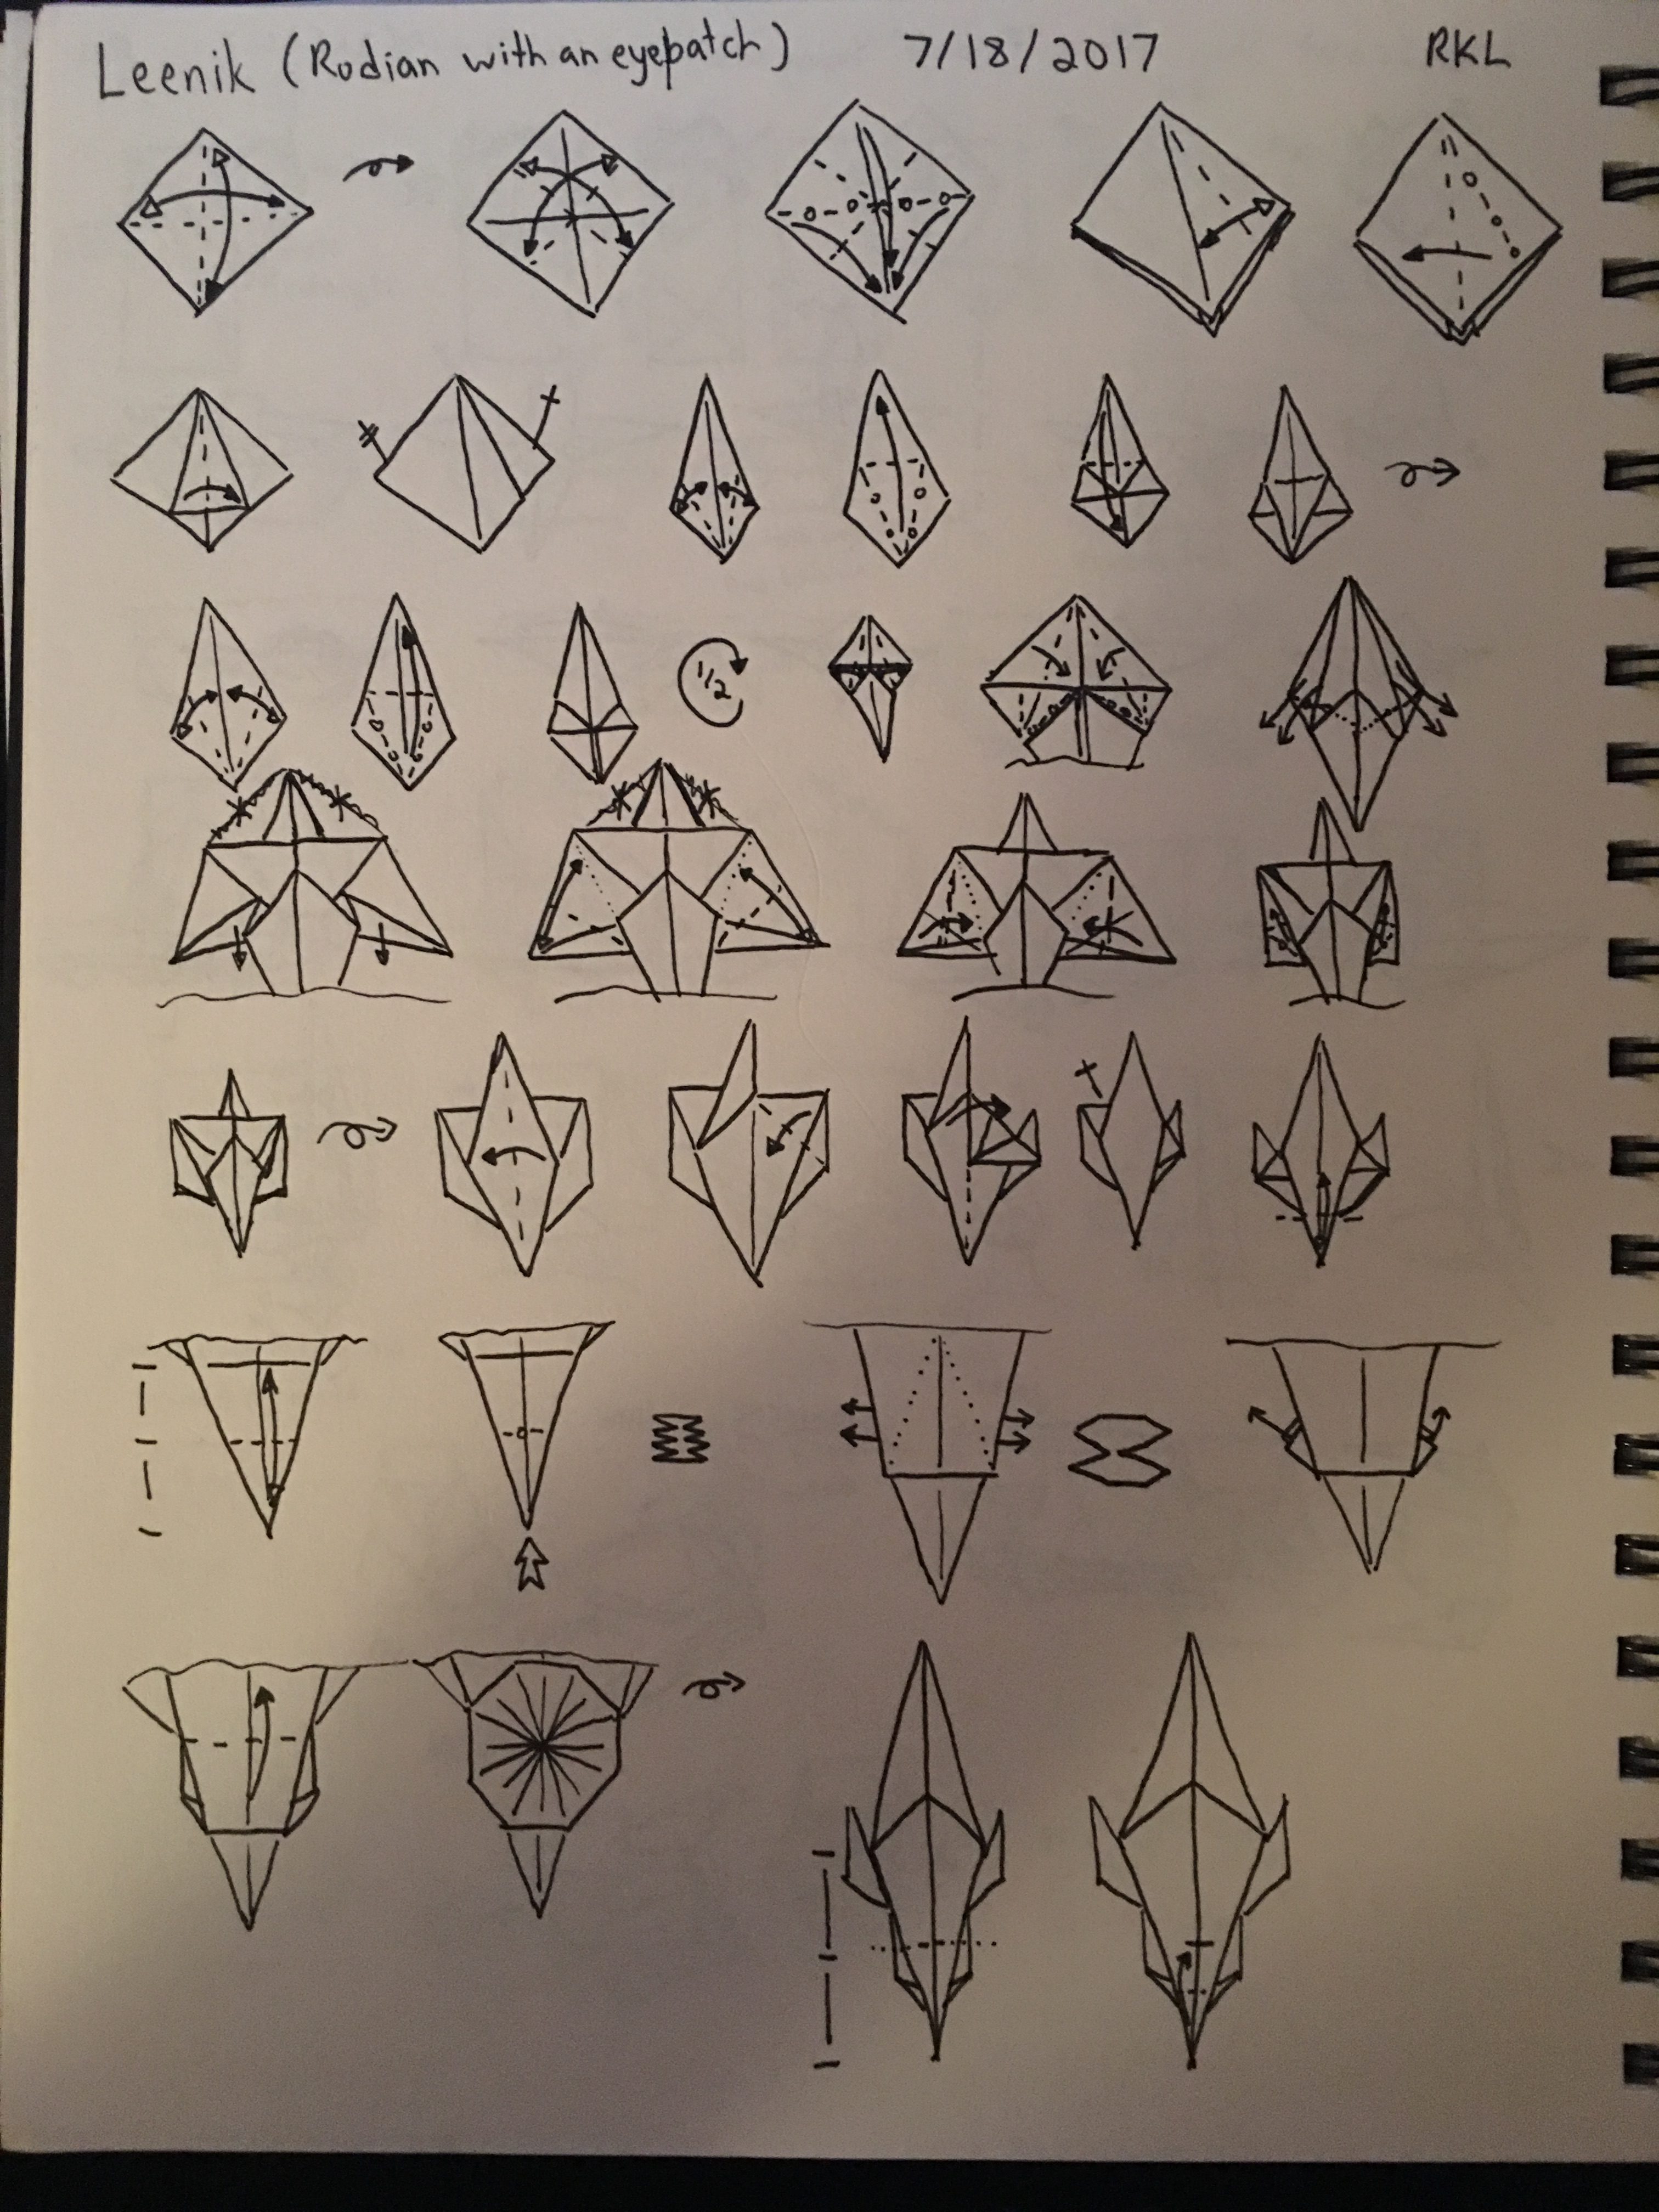
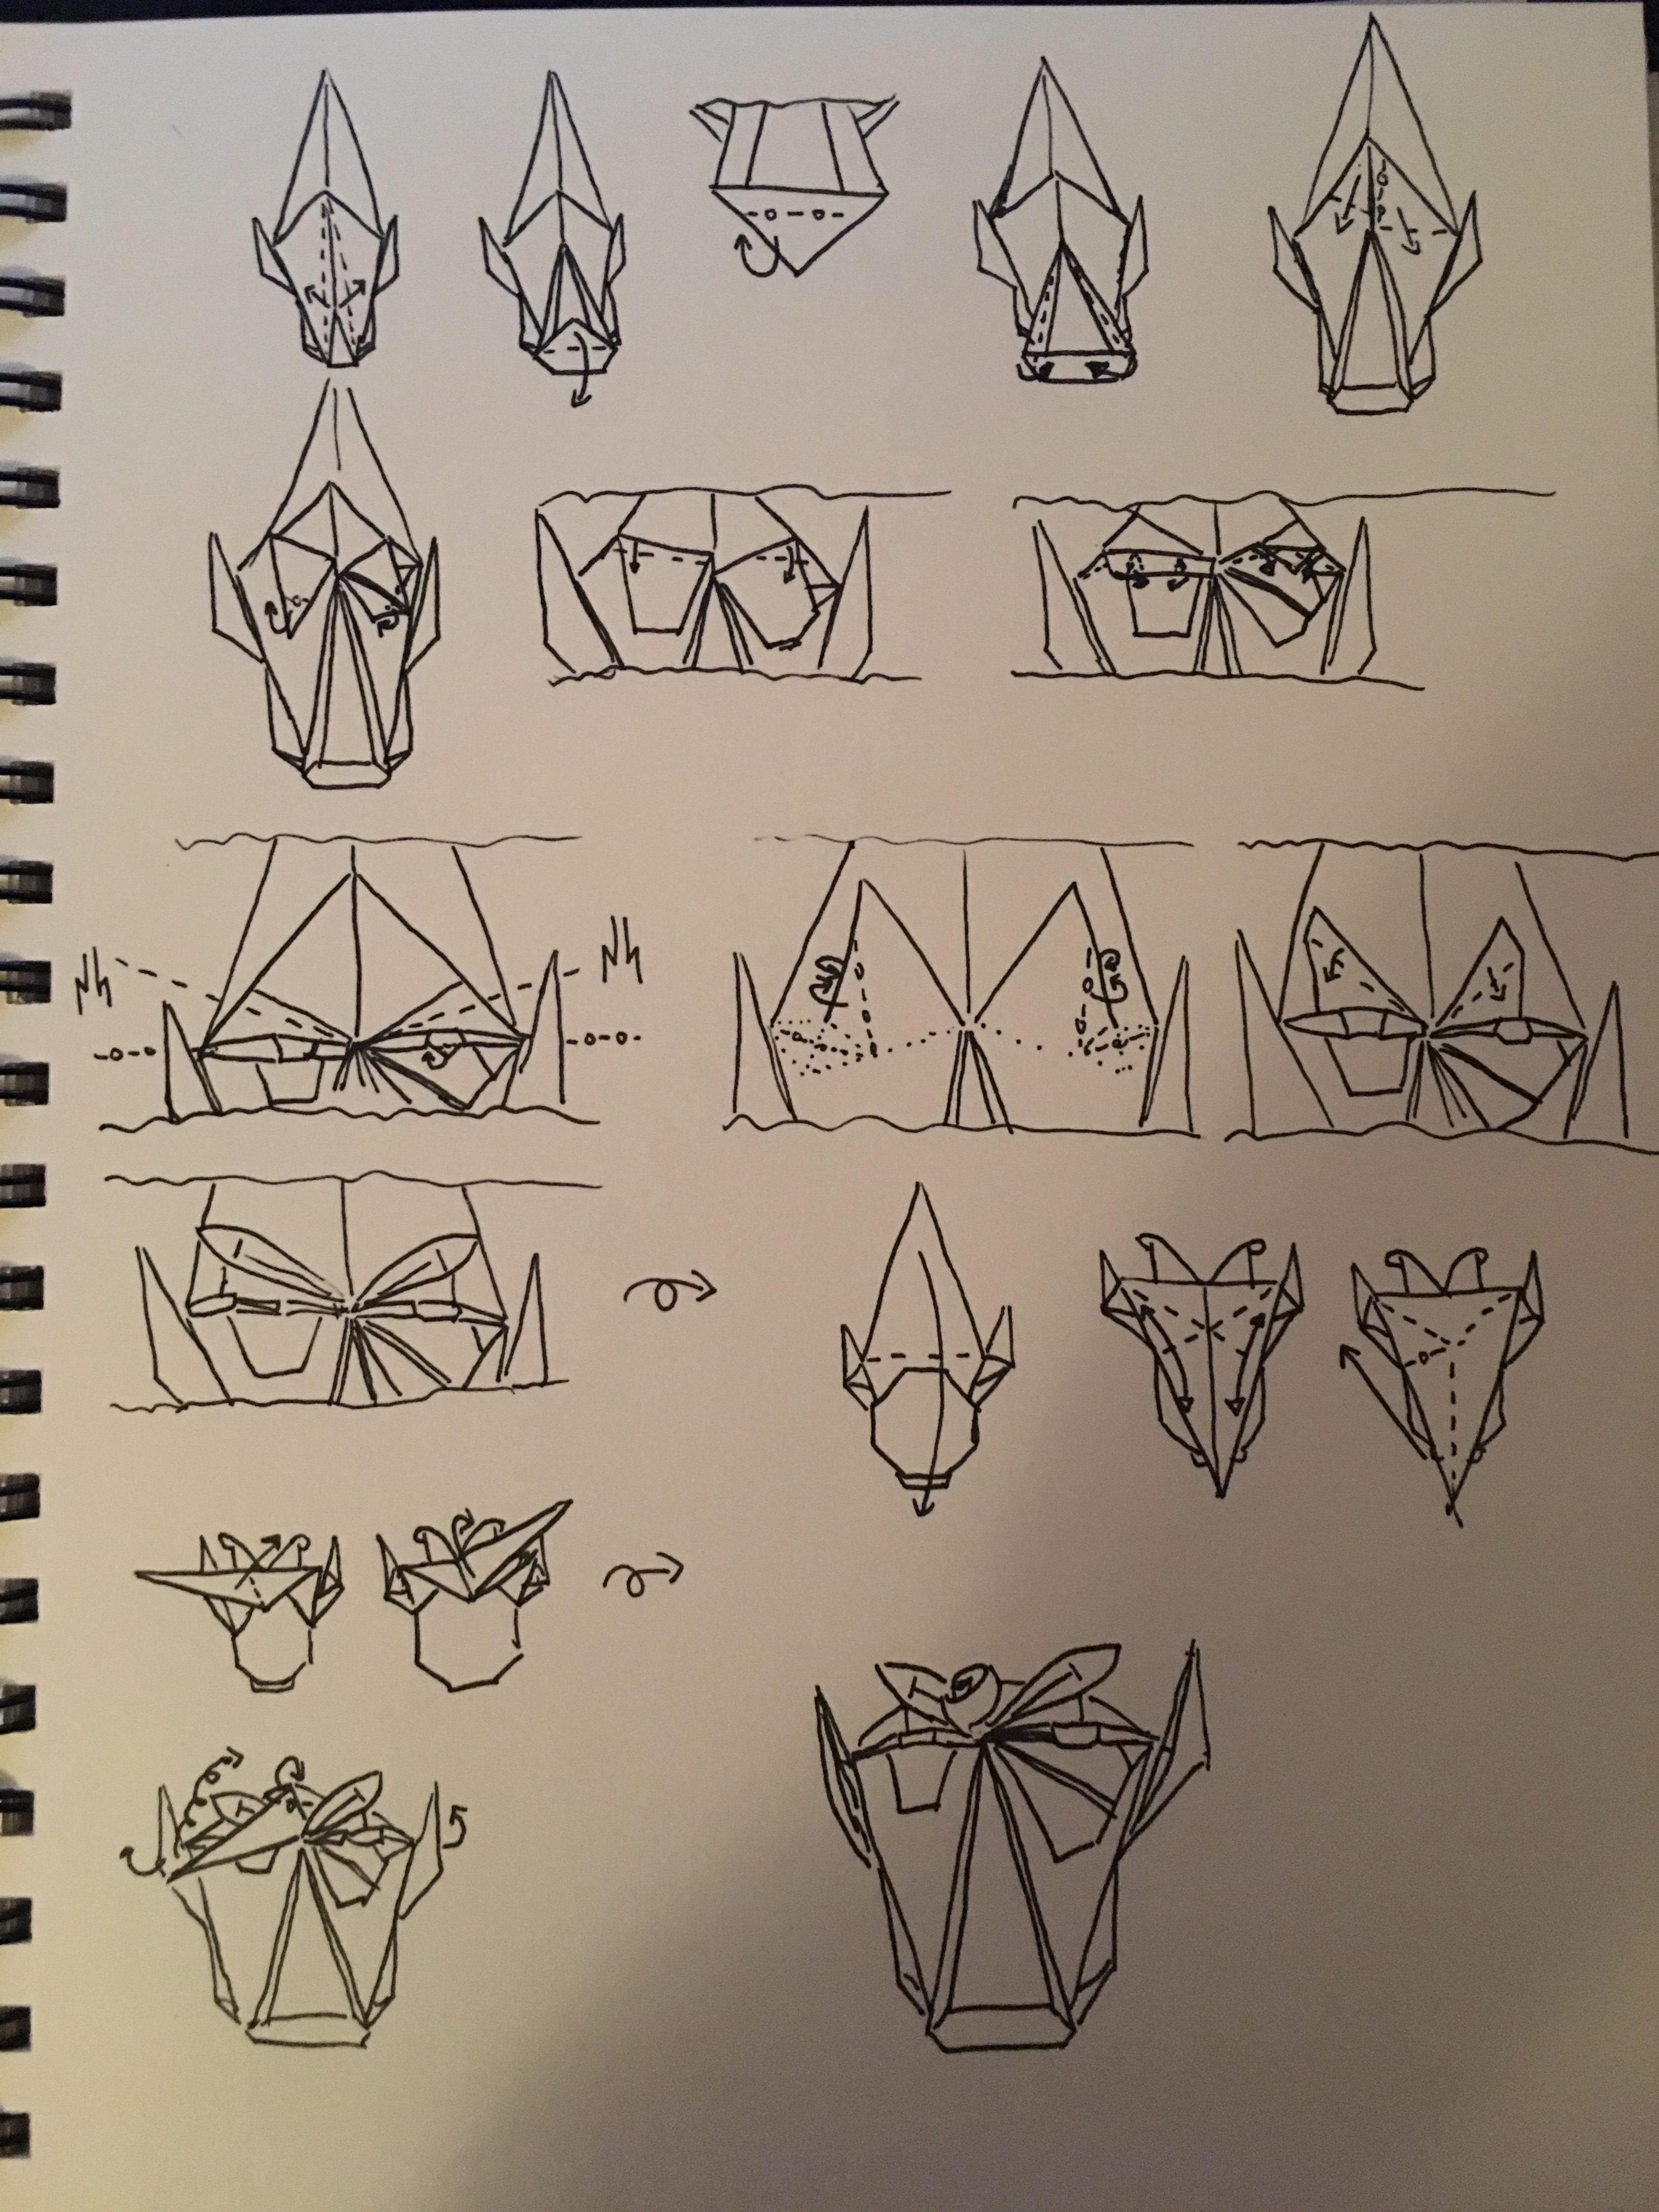
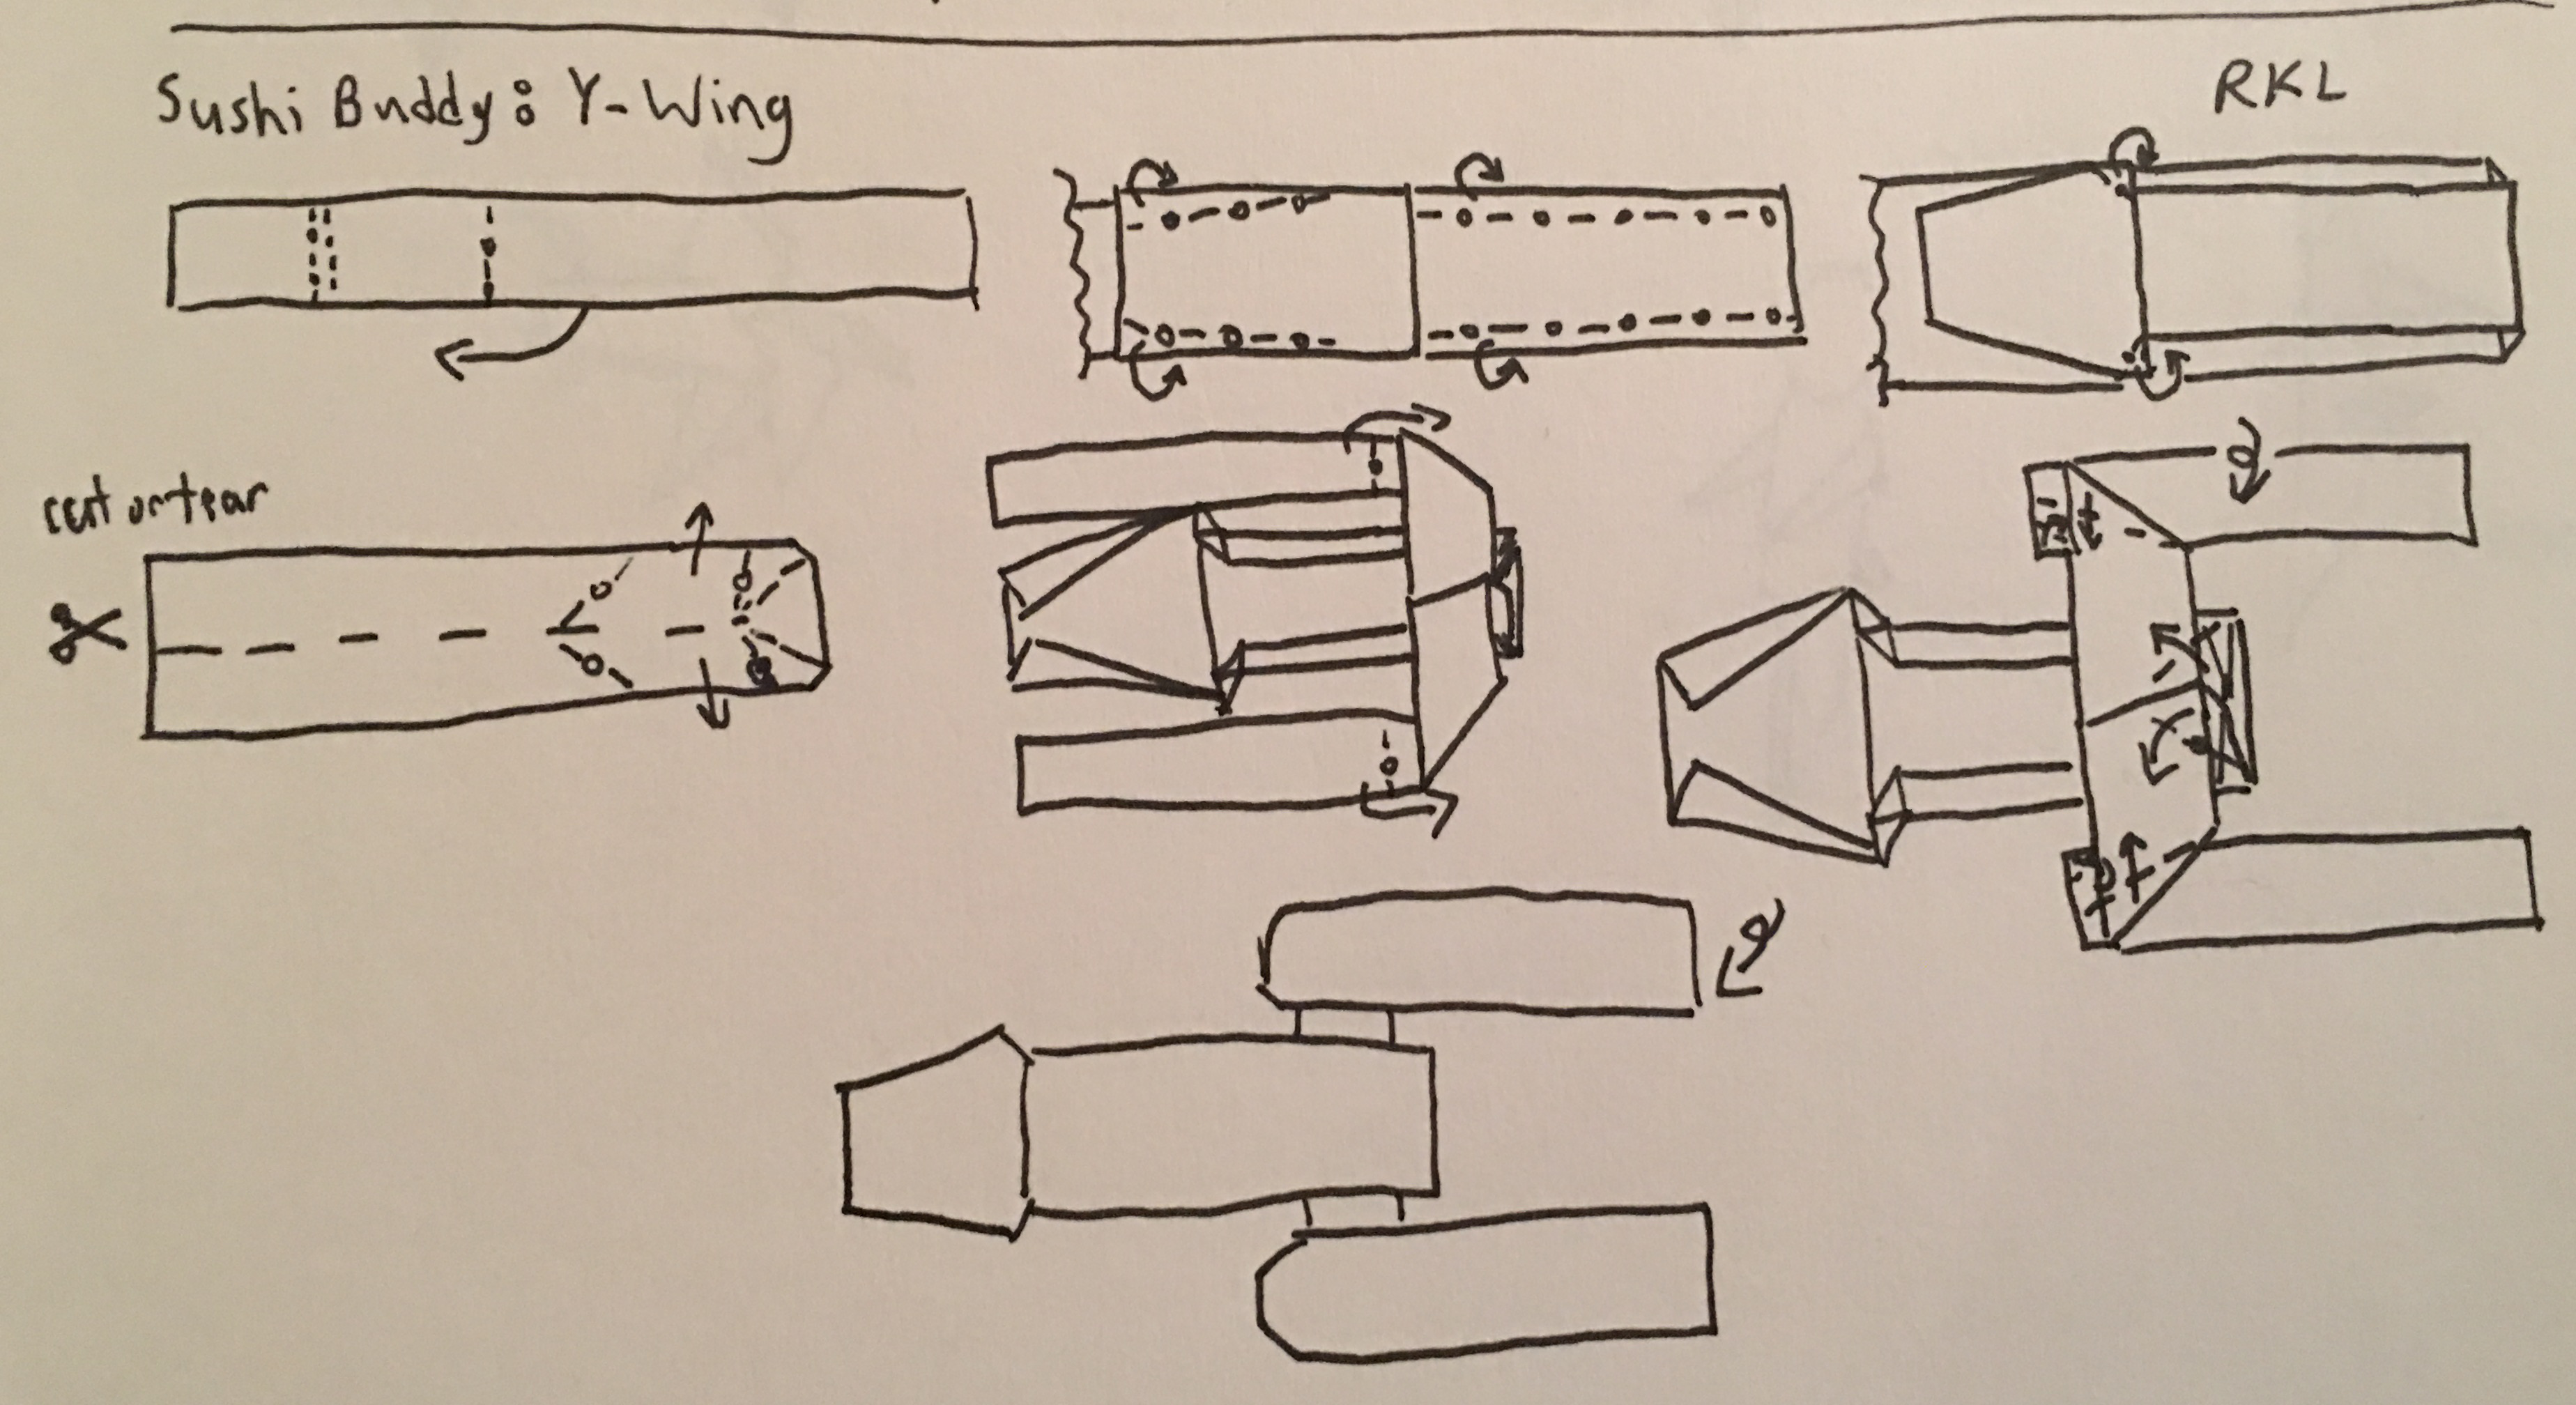
That’s a great starting place, and you can see bits of the conventions in my hand-drawn diagrams, though they’re a VERY long way from polished.

That said, to make professional-looking computer diagrammed instructions, you need software. I’m not crazy enough to try doing it in MS Paint, and I had a feeling that GIMP might not be the right tool for the job.

After asking around a bit, several people recommended checking out Inkscape, another free drawing tool. Almost immediately, I was able to find a YouTube series that details the basics of origami diagramming using Inkscape and I’m off to the races.

At current, I expect the steps for something like the simple bases (waterbomb, fish, bird, etc) to take several hours each to complete, but most pieces will one of those, or something very close, so I should be able to reuse much of that work over and over again.

I’m anticipating roughly 4-12 hours of diagramming per model, if not more, so I’ll be judicious about which ones I decide to spend the time to do.
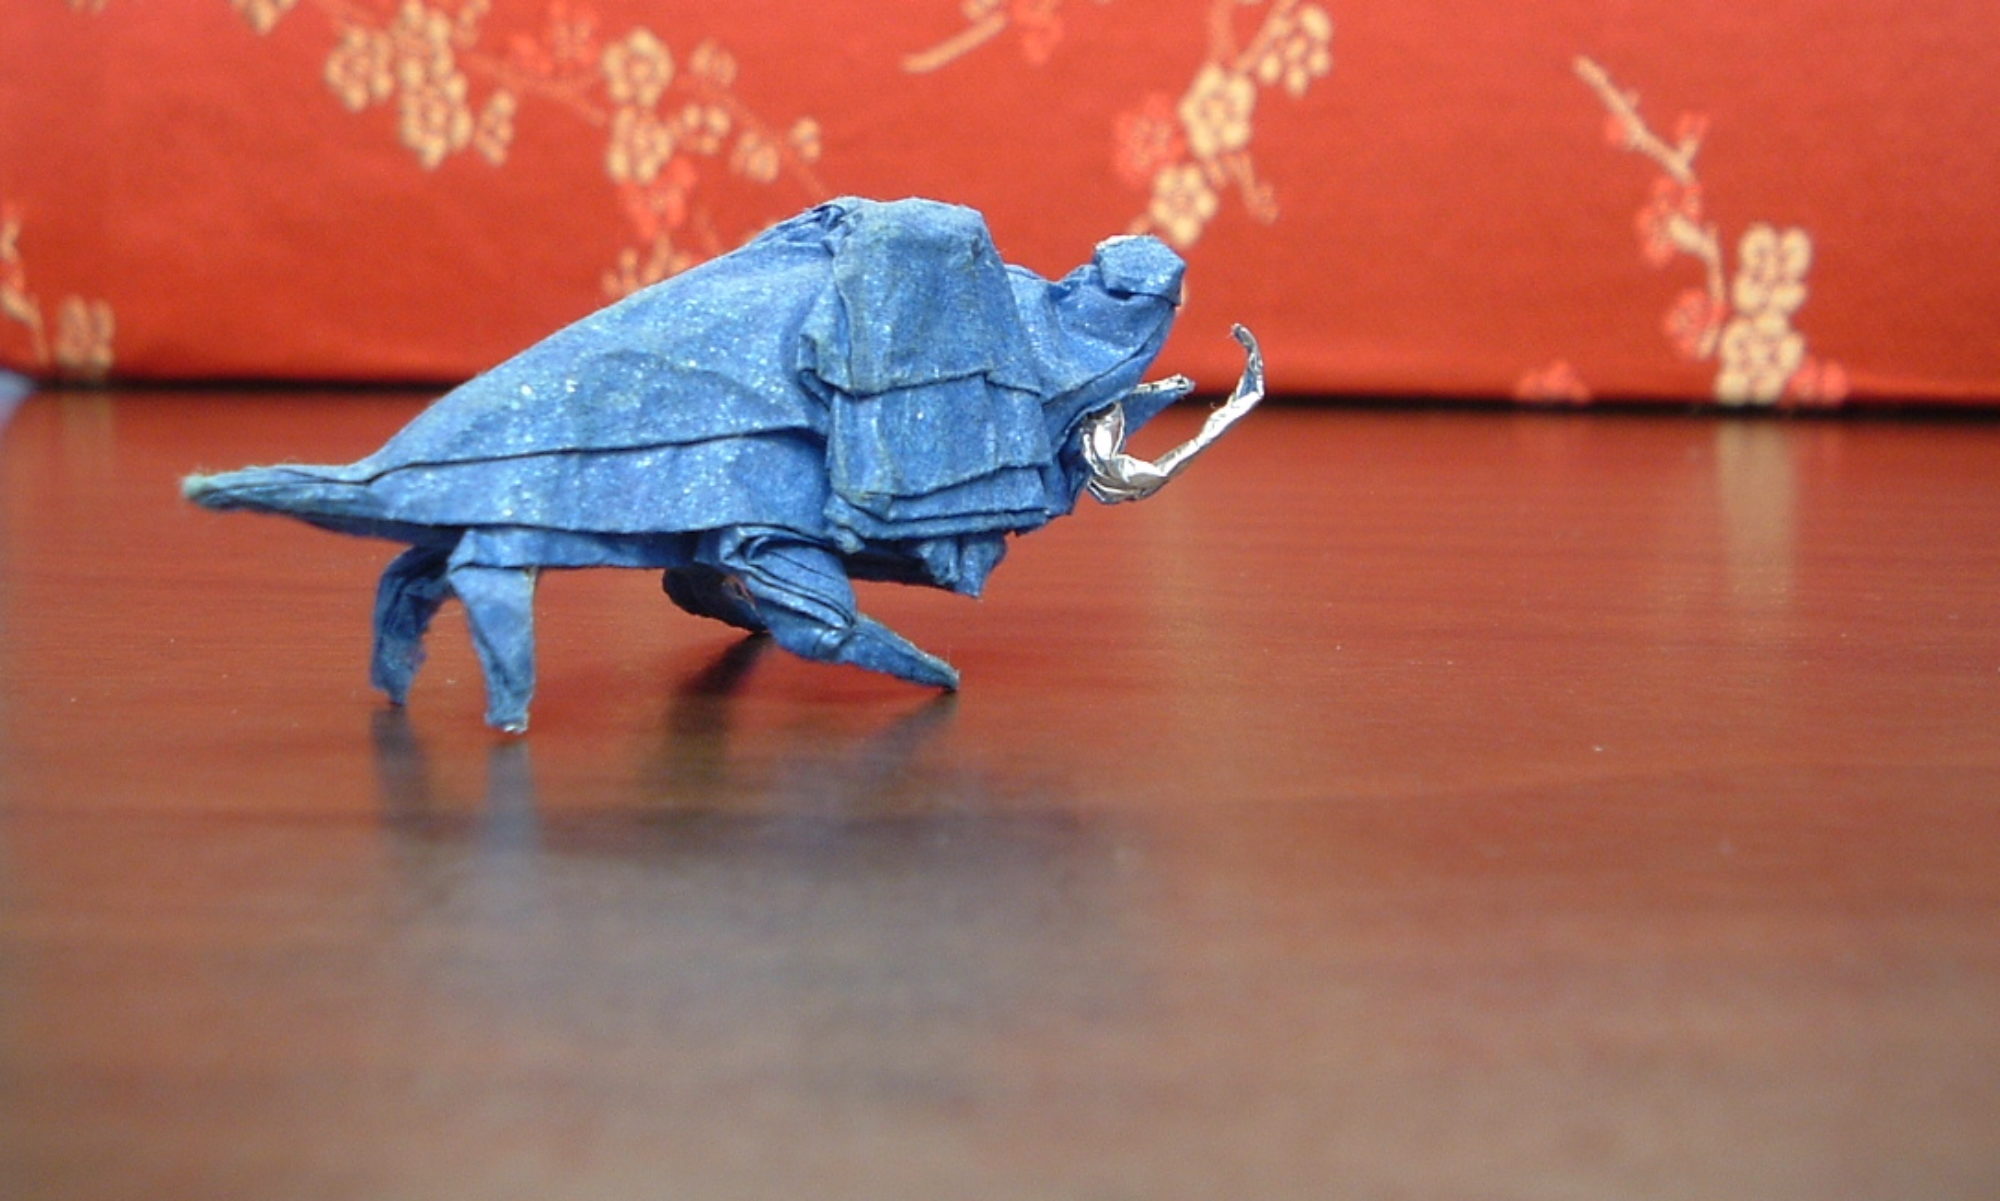
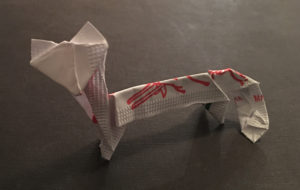
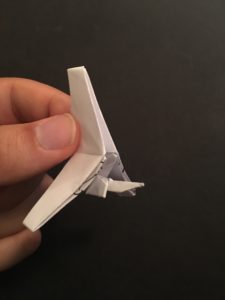
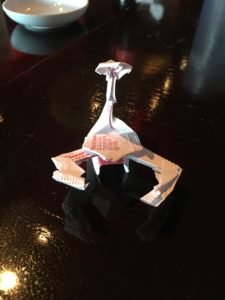
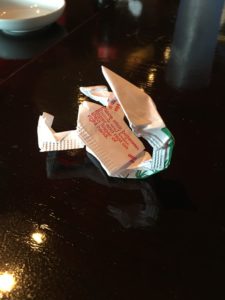
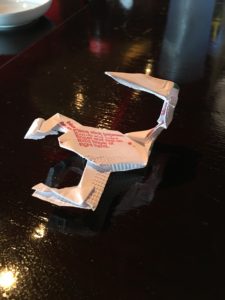
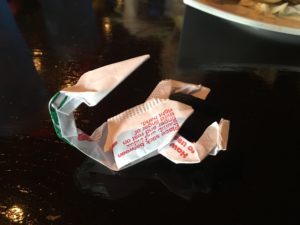
Sample diagrams:

T-16 Skyhopper

Sometimes models are born out of silly conversations on Twitter! Kalum, of the Rolistes podcast, and I were talking about origami models and the T-16 came up. Fast forward a bit and here we go:

T-16 Skyhopper

Diagrams:

T-16 Skyhopper DiagramsT-16 Skyhopper Diagrams

Sushi Buddies: Y-Wing Edition

I’ve had Y-Wings on the brain lately because of Star Wars play-by-post game I’m in where we’re finally getting to some space combat!

Y-Wing

I ended up using the tearing technique again. You can see the slightly ragged edges of the engines in the picture above.

Y-Wing Diagrams

Y-Wing (first draft)

The Y-Wing presents a challenge because of the long flaps needed for the engines. Using a square to get the longest flaps means using opposite corners, leaving the folder with two very long flaps opposite each other for the body. Using the entire square ended up producing an unsatisfactorily thick model.

In the end, I simply divided the square in half into a right triangle. That provides the single point for the body and two for the engines/wings.

Right triangle concept
The result is recognizable but still inelegant. The body is still thick compared to the engines, and the shaping of the body makes it want to curl upward.

Y-Wing first draft
First attempt

My next thought is to try a pair of rectangles, interlocked with a few locking folds into a T-shape. My default for rectangles is usually US Dollars. The linen material makes them easy to use for multiple doodles.

Y-Wing model concept sketch

B-Wing

This is actually a relatively straightforward design challenge. You need a pair of long flaps for the bottom and top/cockpit and a pair of short flaps for the side wings. In this case, that means the classic Fish Base. It uses an open sink to narrow the flaps, then proceeds about the business of styling them into the recognizable bits.

B-Wing
B-Wing Diagrams

Sushi Buddies: Scorpion Edition

One of my favorite things to do when going out for sushi is to make something fun from the inevitable chopstick wrapper. This evening I went for a scorpion, eschewing my usual rule against cutting/tearing. For a very long time, I stuck to notions of “pure” origami being a single uncut square. Then I got over myself. I still prefer an uncut square, but really, sometimes it just makes sense to make the most of the material you’ve got.

Scorpion Front Scorpion Left Rear Scorpion Left

Scorpion Right Rear Scorpion Bottom

Diagrams:

Scorpion Diagrams