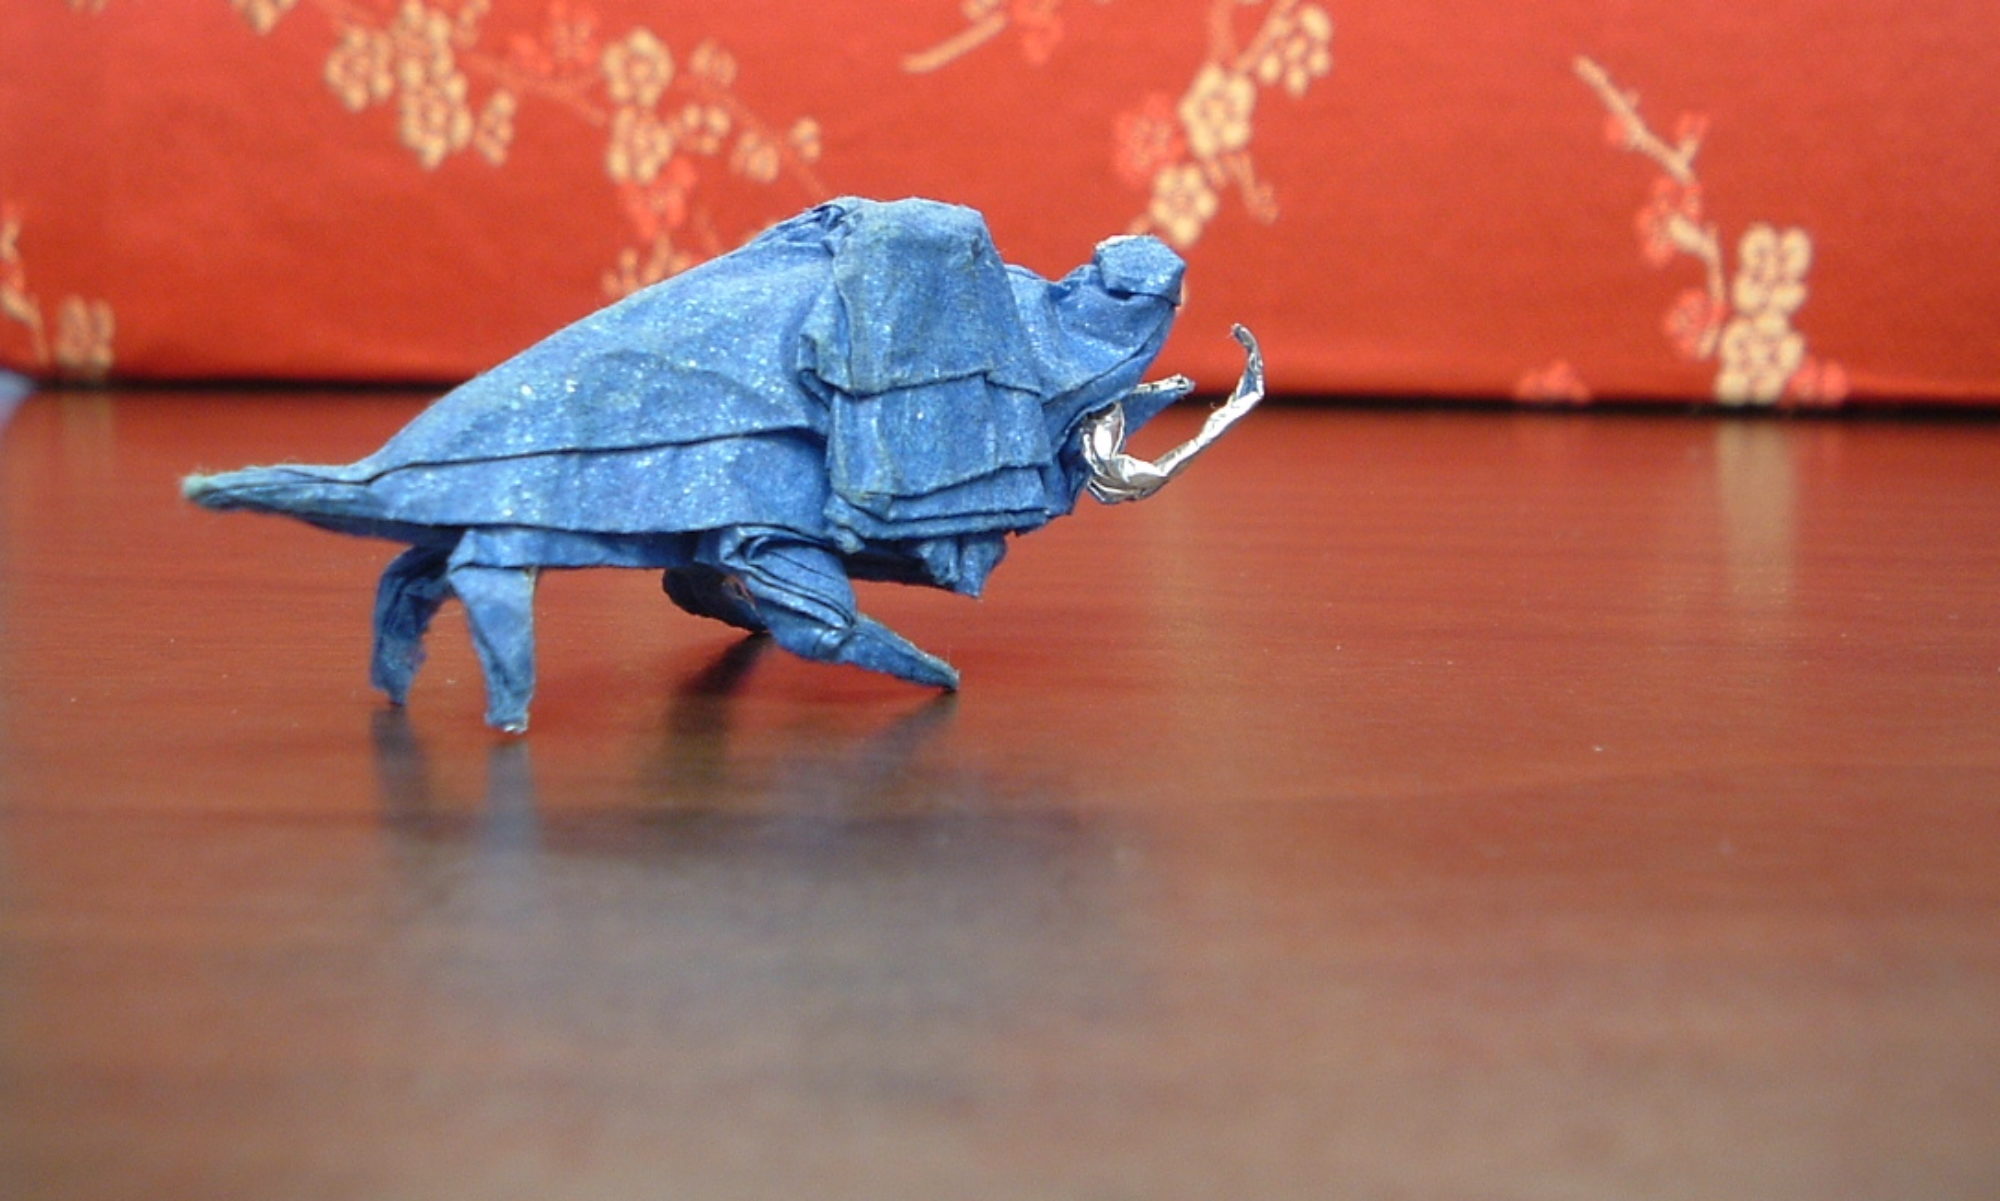
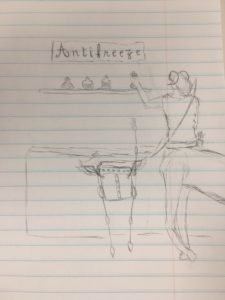
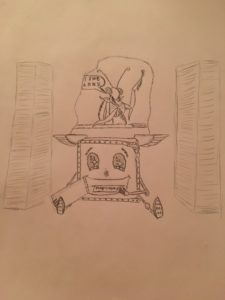
This model was inspired by the Bariaur ranger Angela Craft played in the D&D 2nd Edition Planescape game run by Darcy L. Ross at AcadeCon 2016. She and my character got to go shopping for antifreeze together.

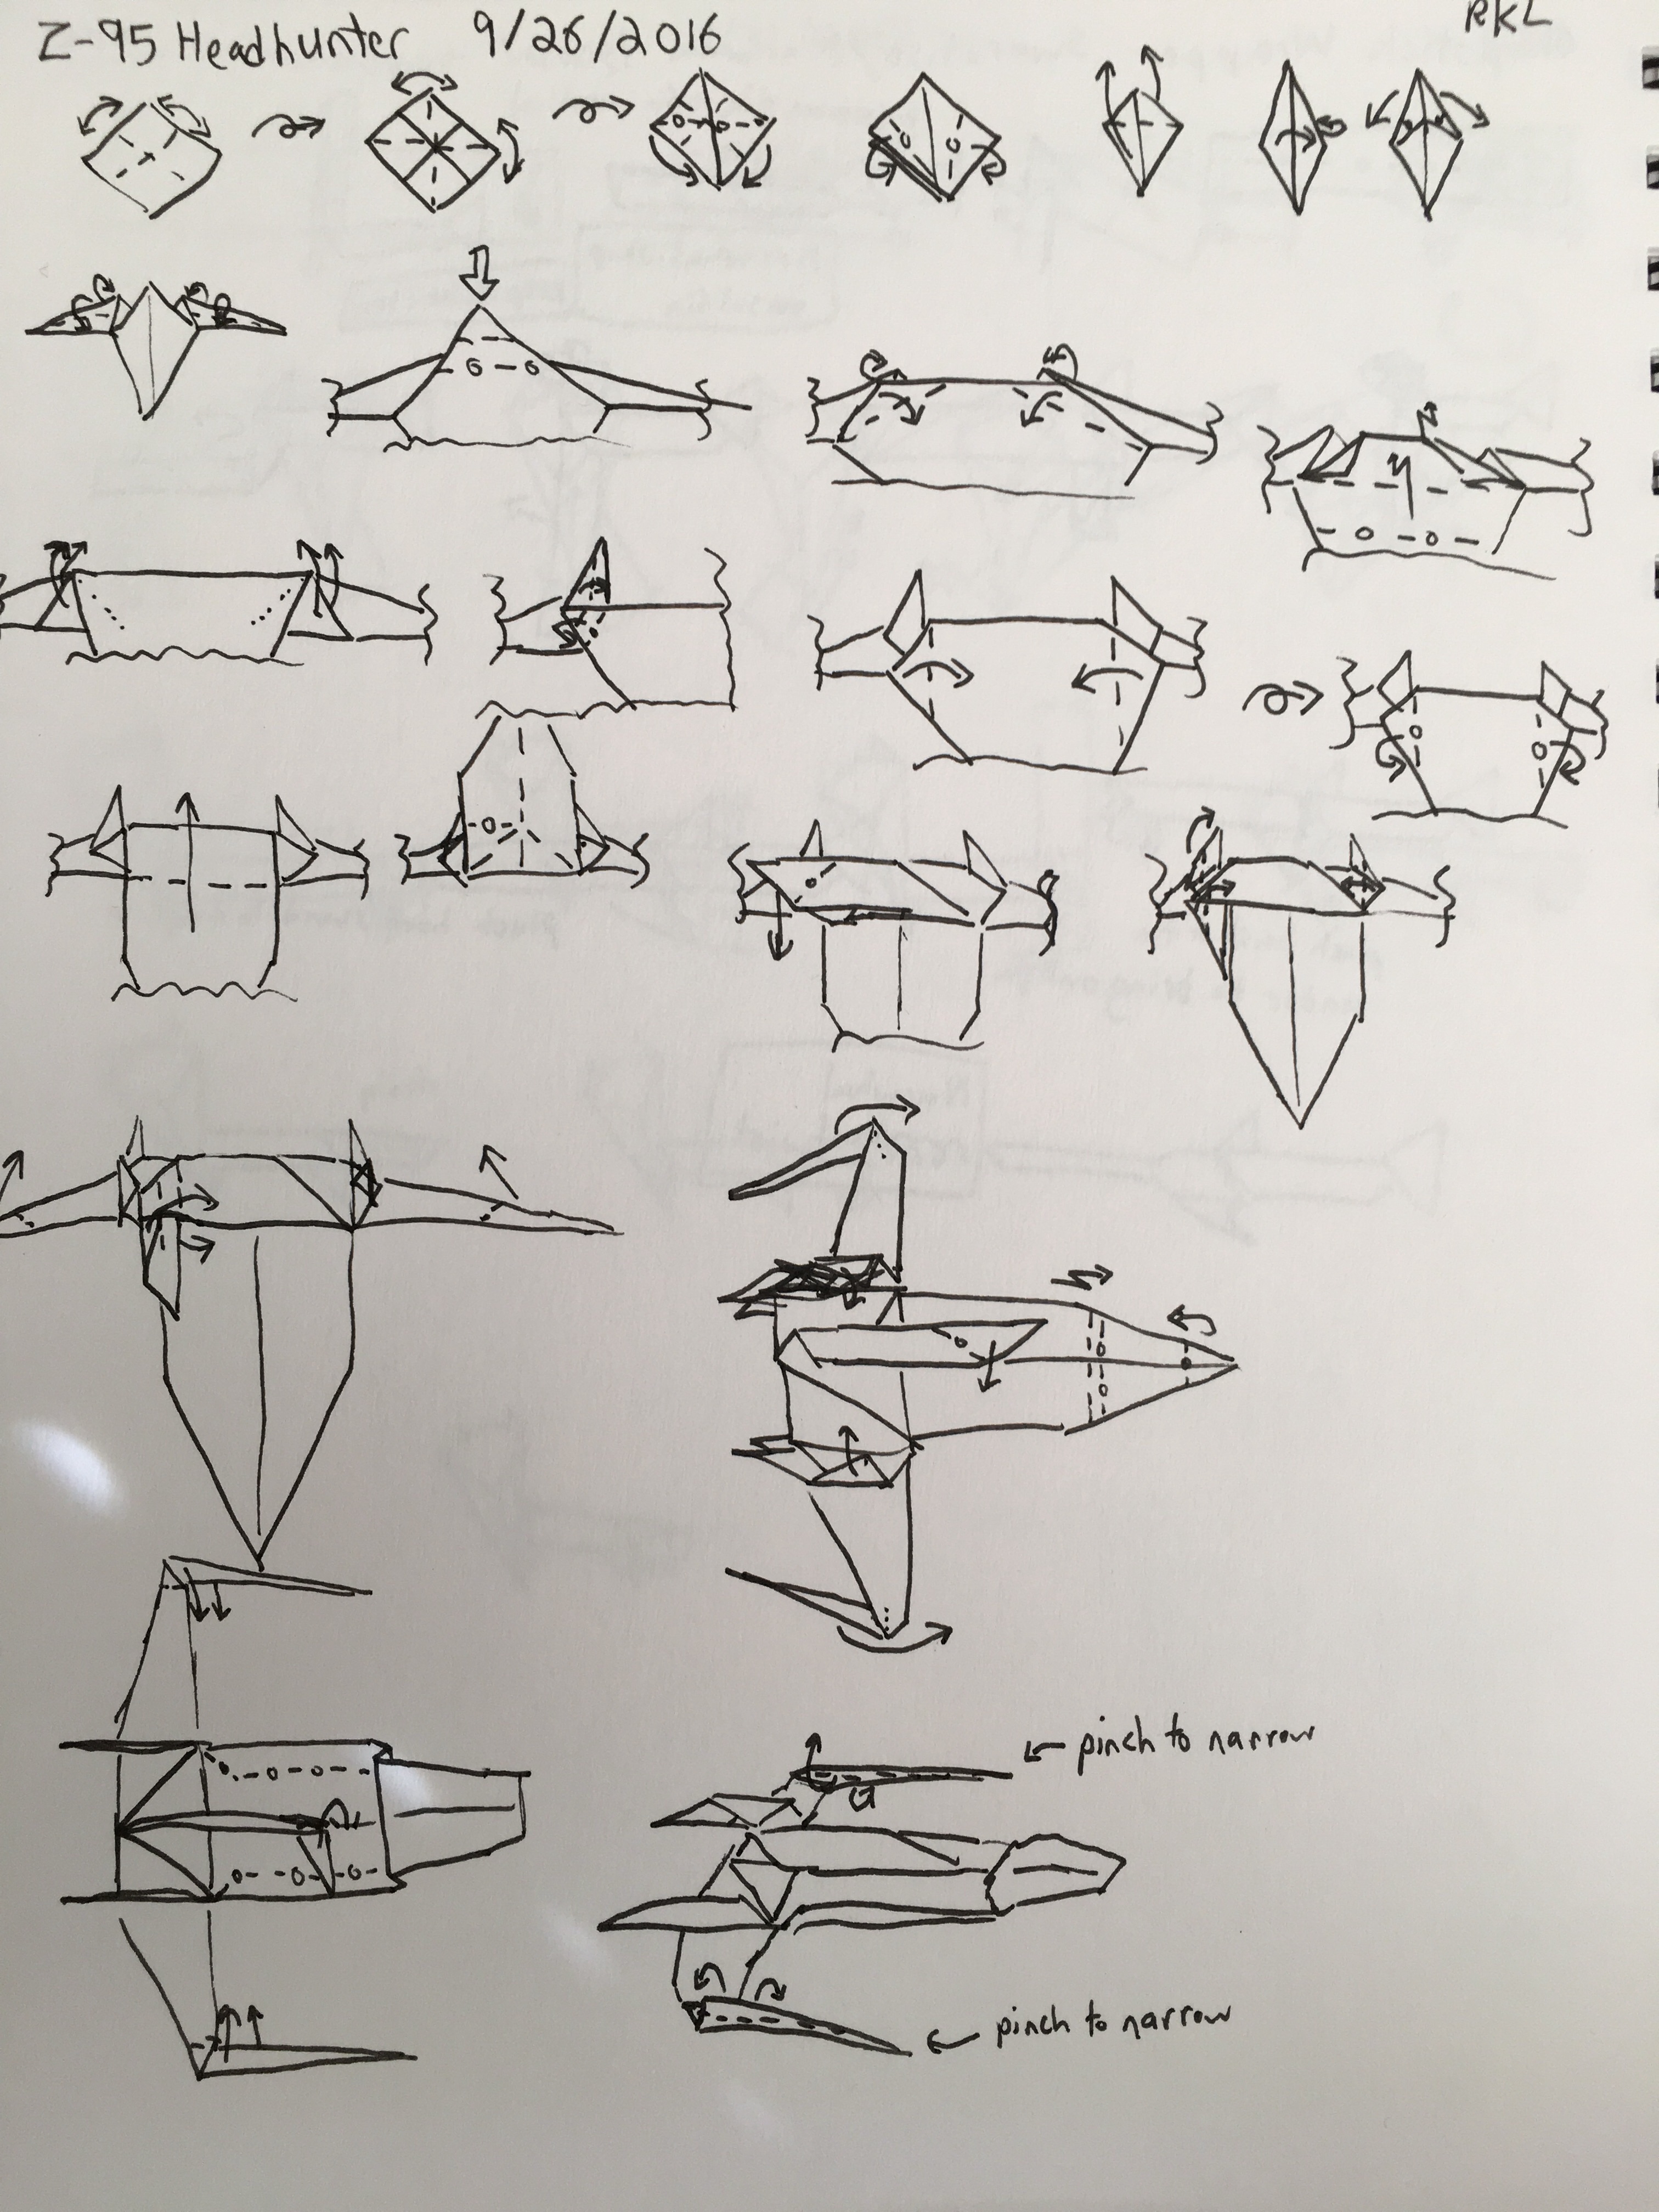
Diagrams:

Original Origami Designs, Tabletop RPGs, and Everything In Between
This model was inspired by the Bariaur ranger Angela Craft played in the D&D 2nd Edition Planescape game run by Darcy L. Ross at AcadeCon 2016. She and my character got to go shopping for antifreeze together.
Diagrams:
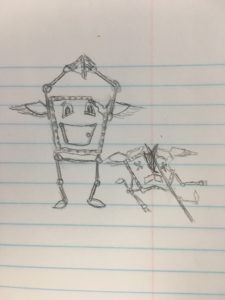
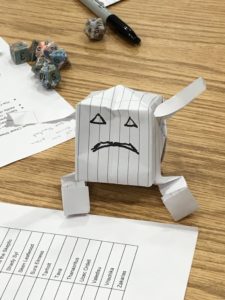
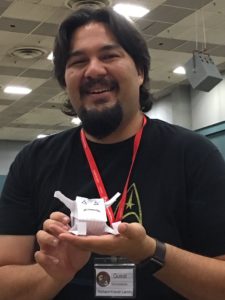
What do you get on the last night of AcadeCon when you combine an amazing group of players and Darcy L Ross at the helm? A fantastic game, that’s what. Dent is a little modron warrior who prefers to avoid using violence unless necessary. You see, he’s a bit depressed. If only he didn’t have a huge dent on one corner of his drab cube.
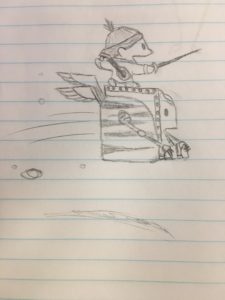
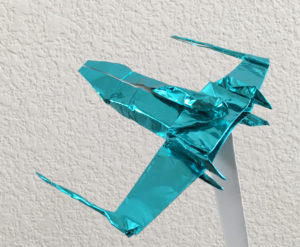
When I got into a play-by-post game and one of the characters mentioned he had origami skills, I knew I had a source of new inspiration for origami models. I designed this Z-95 headhunter after they mentioned flying one. It turned out to be more difficult than I was anticipating. An X-wing is relatively simple with a frog base, but with the Z-95 you end up with extra paper that you have to use.
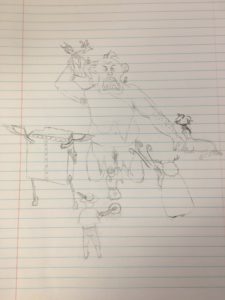
My home group started a Pathfinder campaign where the PCs started session one as kids. One of them was found out behind the tavern on the trash heap as a baby and it sounded so adorable I decided to do an Order of the Stick style illustration of the four of them.

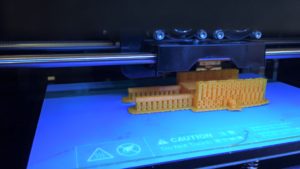
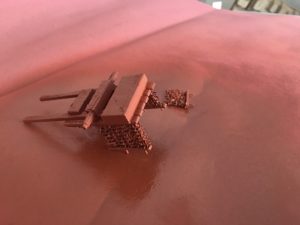
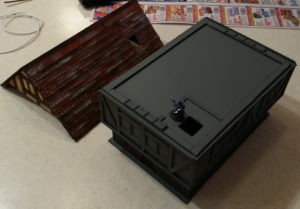
It turns out that the Central branch of the San Diego Public Library has a free 3D printing lab. They appreciate a small donation for materials. For less than $5 I was able to try my hand at 3D printing a wagon for gaming.
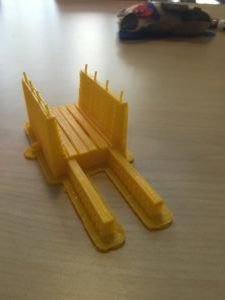
It’s not quite as simple as going and finding a 3D model online and bringing it to the lab. The original model I found had wheels, for instance. It worked out fine for my adventuring party (who doesn’t love a broken down wagon as an adventure hook?) but if I’d wanted to get them printed as well, it would have meant more time and two additional prints (one for each wheel).
As it was, it took quite a while to modify the model I found online. There’s plenty of free 3D modeling software available, but most of it has a fairly steep learning curve.
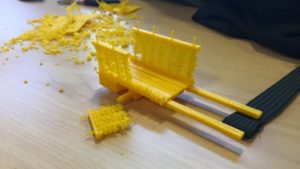
One other thing to note is that, similar to character models in World of Warcraft, you want to make sure your model is sufficiently thick to be able to withstand some pressure. In my case, the wagon model had a woven texture that ended up being a bit brittle. You can see how one of the wagon sides came off. Again, perfect for a bit of battle damage but not great if I was going for something more pristine.
Sandpaper, a pair of wire cutters, a craft knife, and a great deal of patience was all I needed once I arrived. The print itself took about two hours, but it was definitely worth it.
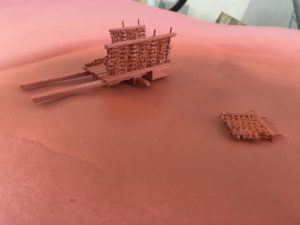
One coat of paint later and I had a perfect prop for the adventuring party to clamber over and investigate.
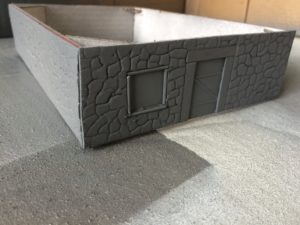
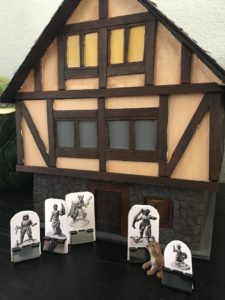
Our latest campaign starts off with the characters in a small town that happens to have an awesome tavern called the Ewe and Arrow. Inspired by various sources, we decided to create our own!
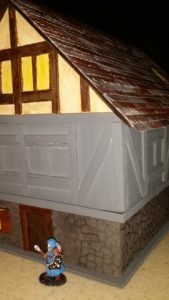
Starting with the first floor, we went with a basic cardboard rectangle with a removable bottom (each of the floors will be separate). We used craft foam for the stone walls and used a ball point pen to create indentations to create the rock look we wanted. After that, toothpicks for the window frame and wooden coffee stirrers for the door frame, then card stock for the reinforced bits of the door.

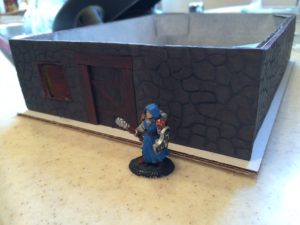
The next few floors came together easily after that. They were similar cardboard boxes, but got coffee stirrers added to the outsides to go for the look we wanted. After that came the attic/roof. Priming and the first layer of paint was relatively easy.
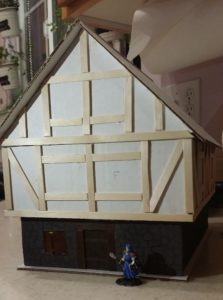
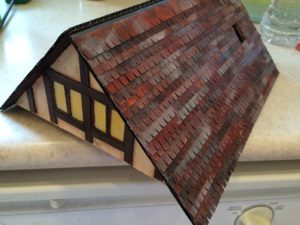
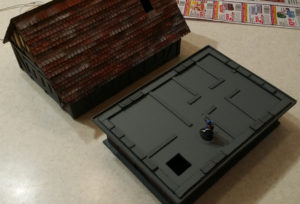
Here’s a view of the different floor plans (created using more coffee stirrers glued to the base of each floor). Also, the roof was made using long strips of card stock. The paper was painted brown, then gone over with bits of other colors to give it a non-uniform look. After that, the strips were cut apart into sections and laid down to cover the roof. The opening was left for the chimney.
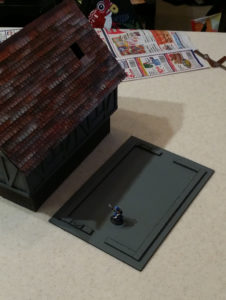
And it’s final stages. First, with a little bit of the wood still unpainted, and finally with walls all at least painted with one coat. Eventually we’ll get back to this and do the chimney and re-weather the outside walls, add color to the floor plans, etc, but it’s good enough to get some serious gaming done in the meantime.

It turns out you can find just about anything on eBay, including ancient, errr, classic Sesame Street crochet kits. Any softness the yarn in this kit had when it was made seems to have disappeared in the last few decades. Either that or it was pretty plasticky to begin with. Either way, it’s an authentic kit, so I made a go of it for a present for my wife. So far it’s been a lot of fun!

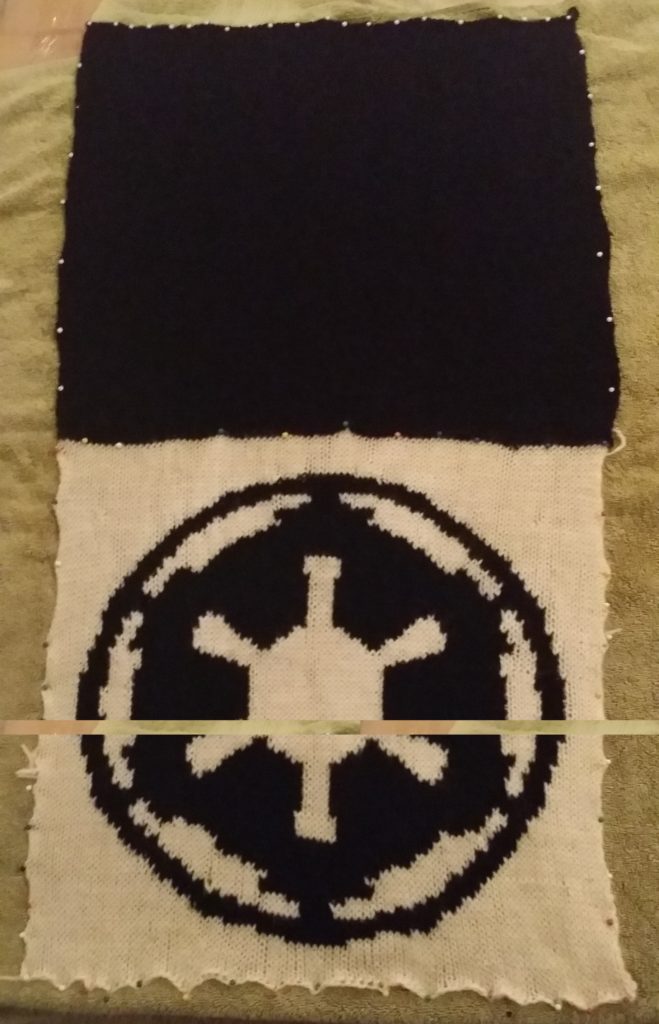
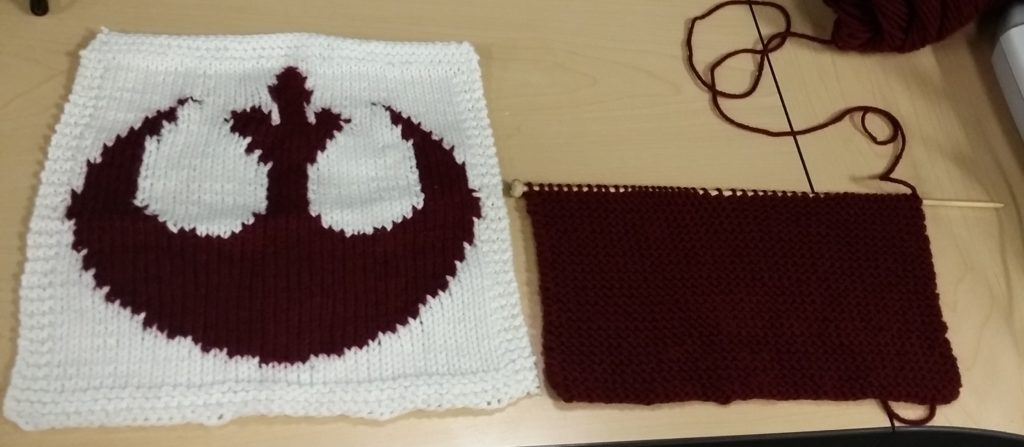
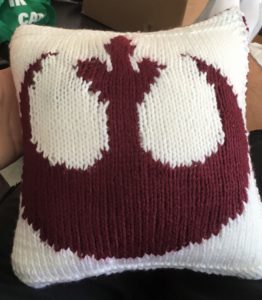
It may have taken forever, but I finally managed to finish the knit pillows with a rebel symbol and the imperial symbol. It was one of my first experiences with dual color knitting and there were a few gaps that had to be tied together, but overall it was a success.
I underestimated the importance of blocking, and designed the pattern without fully taking into account on my graph paper that the stitch height and width aren’t equal. Still, it was a great learning experience and made for a great present to a friend.
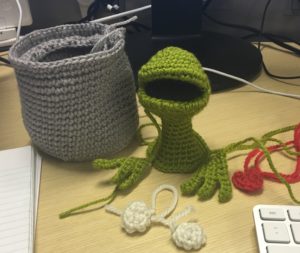
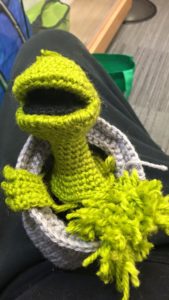
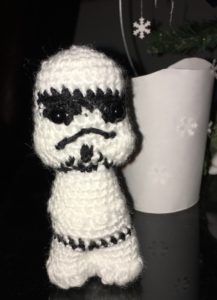
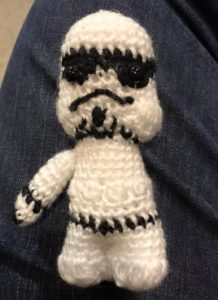
Picked up the Star Wars amigurumi crochet kit recently and decided to give the stormtrooper a try. Funny thing, ended up getting delayed on making the arms, so he just stood around like this for a bit until he was dubbed “Stumpy” affectionately.
Eventually he got arms, but until that point we were amused by… well, you know.
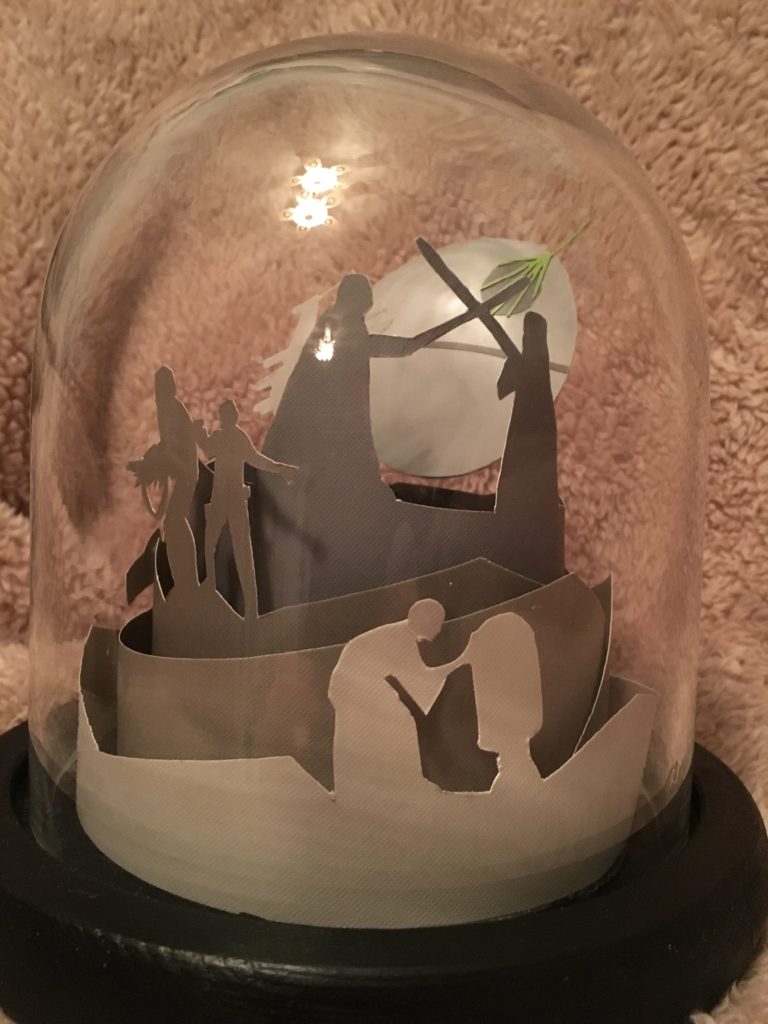
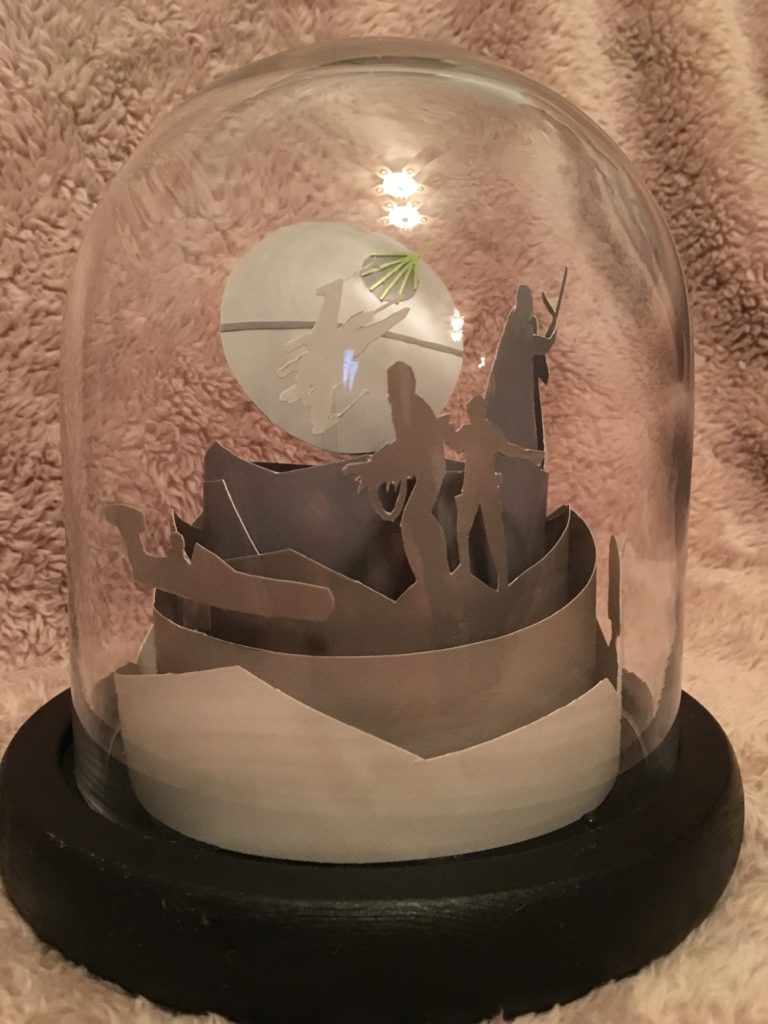
Problem: need a relatively inexpensive gift for a huge Star Wars fan
Solution: an hour on Pinterest looking for ideas, a trip to Michael’s craft store, and some quality time with a craft knife and some single sheets of scrapbook paper.
The inspiration for this is this lovely piece: http://jackiehuangstudios.blogspot.com/2013/12/out-of-shire-tribute-exhibition-to.html
We managed to work in Han and Chewie, Luke in his landspeeder, Darth Vader and Obi Wan, and even the Death Star blasting something (presumably Alderaan) while an X-Wing flies by.